Jigsaws with GIMP and Python
Jigsaw puzzles proved wildly popular during lockdown, but they weren't all done on the dining room table on rainy afternoons. The puzzle faced by researchers from the School of English and Drama (SED), lead by Dr Richard Coulton and in collaboration with the Natural History Museum, was to piece together a set of beautiful botanical watercolours brought back from China by the East India Company surgeon James Cuninghame. Cuninghame purchased these works, by an unknown local artist, in Xiamen in 1699. Sometime in the first half of the eighteenth century, perhaps because of their large size, these watercolours were cut up and glued into what you ungenerously, call a scrap book. The British Library has lovingly digitised this book in a series of publicly-available high resolution images funded by Oak Spring Garden Foundation, who also sponsored the current project.
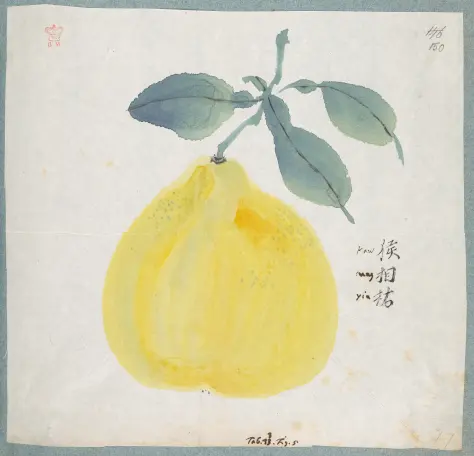 Figure 1: Watercolour painting of a fruit
We would like to digitally piece the images together into their original format, which were effectively large posters, referred to by Cuninghame as "tables". These measured, very approximately, 120cm wide by 60cm wide and had up to 20 plant paintings, such as the one above, on each.
Being freely available and cross-platform, the researchers had been using the GIMP image editor to reconstruct the full-sized tables from the page photographs. However, the researchers were facing several challenges that made recombining the nearly 800 individual plant paintings into 43 large tables difficult:
- As you can see, the pages are not perfectly square in shape (this image being an unusually good example in that regard) so that cropping out the green/blue backing paper was tricky and slow.
- Nor are the images square to the sides of the frame or to each other. This means that they must be rotated here and there to fit nicely together.
- The individual pages' photographs often require over 200MB of RAM to process. If the final composite images contain 20 or more component images, all but the newest machines will struggle to handle them gracefully. In fact, one of the researchers found GIMP completely unusable on their laptop.
The plan, which developed organically, was to write two utilities:
- To make a better cropping tool than the GIMP magic wand, which gets confused by green leaves too close to the edge of the cream paper or shadows deep in the fold of the book
- To make a tool, whether standalone or GIMP plugin, so the images could be arranged in one large canvas without running out of RAM
We realised that there was also scope to use these tools to add a degree of automation to the workflow.
Cropping
The first port of call was to crop more predictably than with the fuzzy select (a.k.a. "magic wand") tool, which requires trial and error with the tool parameters to be able to handle the spotty and uneven backing paper. Note all the small areas that the magic wand has not selected, which will need to be manually corrected:
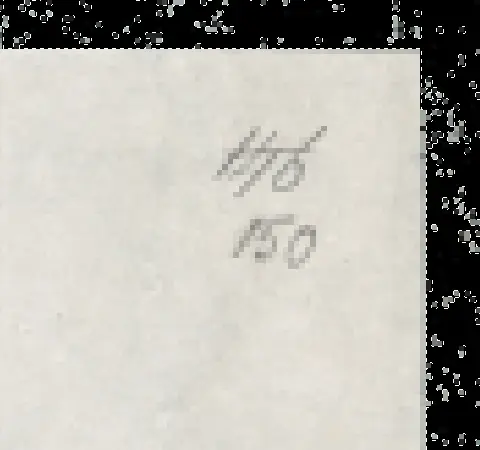 Figure 2: Trying to select the page border with the magic wand tool
There is already an algorithm, called GrabCut, for image segmentation (partitioning an image into objects). GrabCut can be slow on large images, so our cropping tool opens an image file, scales down the image (by an adjustable factor) and shows the image to the user for them to draw a bounding box around the object of interest. In our case, the object of interest is the cream watercolour paper, and we are trying to crop out the blue-green background paper.
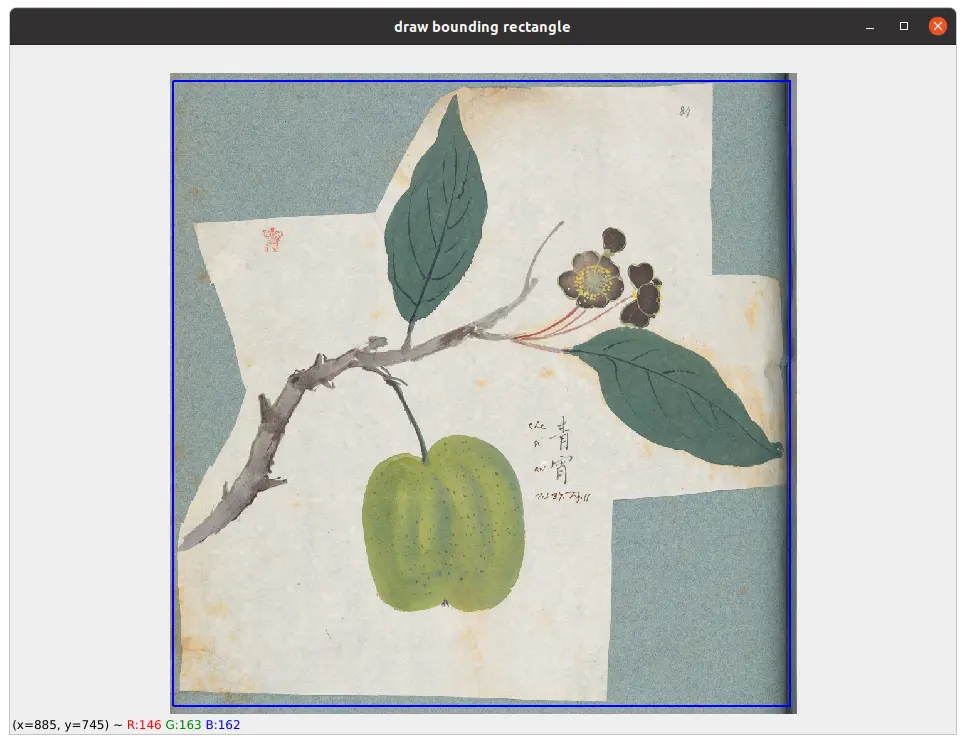 Figure 3: Drawing a bounding rectangle around the painting
The scaled image and the bounding box are passed to OpenCV's implementation of GrabCut, which returns a mask showing GrabCut's best guess of foreground and background. GrabCut can be run iteratively, giving it feedback about where it has gone wrong, but I found a single pass to usually be good enough. Feedback from the researchers indicates that the GrabCut tool worked first time, or with only a few adjustments to the bounding box, in 9/10 cases.
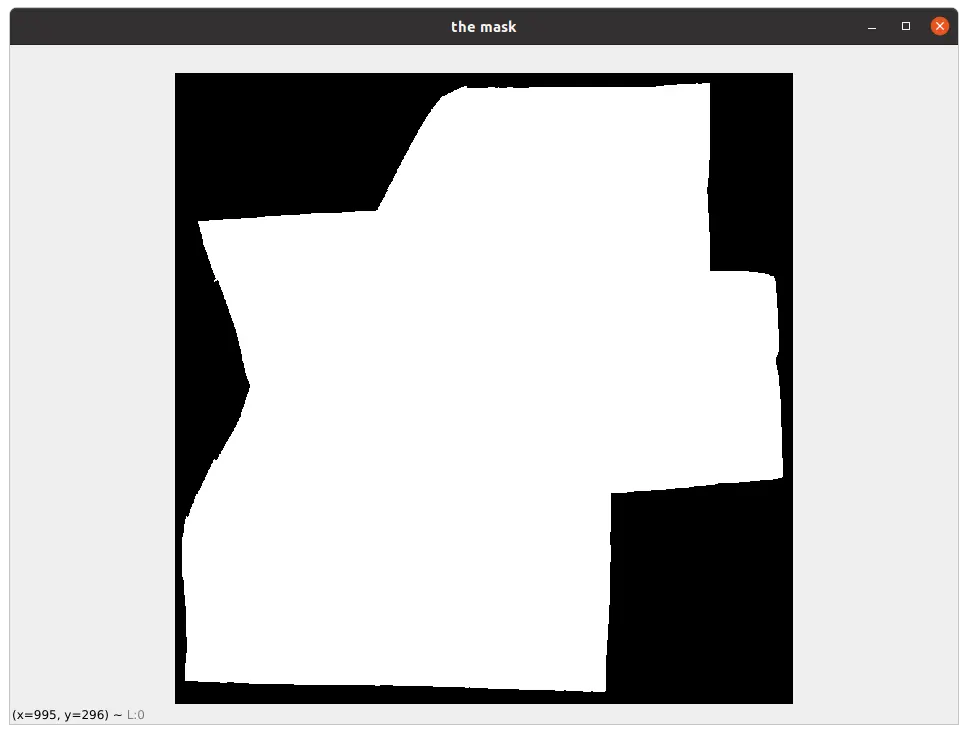 Figure 4: Making a black and white mask to crop out the background
The cropping tool scales-up the mask to the dimensions of the original image and applies the mask to do the crop.
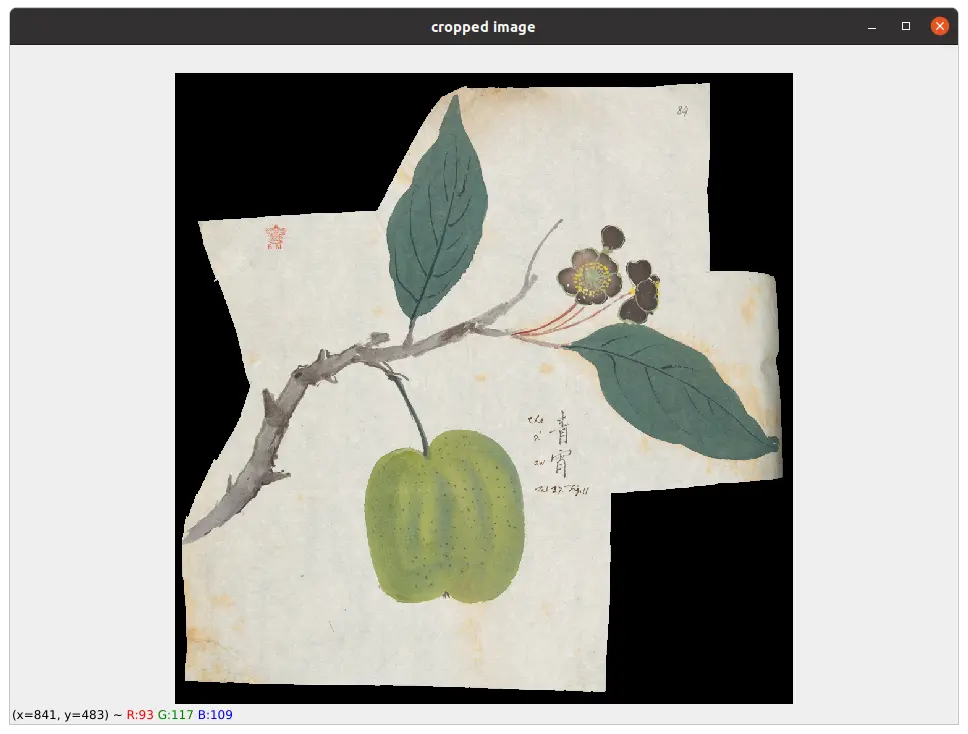 Figure 5: The cropped painting
You can see that GrabCut has handled a crease close to the binding, and leaves that stray close to the edge of the cream paper, with aplomb.
Saving on RAM
The plan to save on RAM began by noting that the images were very high resolution, each image being over 20 megapixels! This is far more than necessary when rearranging and rotating images into their original layout, so we could have reduced the resolution on all the images by half or more and still had a good quality end result. However, the SED researchers did want the option to keep the very high resolutions in the final product, in case they wanted to, for example, print them at a large scale. The solution we came up with was to create scaled-down copies of all the (cropped) images. These could be imported into GIMP and manually moved/rotated as necessary to reconstruct the original large tables. This is the jigsaw step. When the researchers were happy with the layout of this "small composite" image, they would run a scale-up script to recreate a "large composite" using the original, high-res images. The workflow steps are:
- Crop the images
- Make scaled-down copies of the images
- The jigsaw step: reconstruct the original tables by piecing together the scaled-down images in one GIMP canvas, the "small composite"
- Scale-up the small composite image by making a new, huge canvas and importing the original high-res images at locations and rotations worked out from the small composite
Since the third step is done with scaled-down copies, it uses about 1/100th the RAM as it would with the originals. Although the final step does need a lot of RAM, it only needs to be run once, and can be done from the command line on any machine, whereas the jigsaw step needed to be done on the researchers' laptops.
A brief diversion into Scheme
You may have worked through, or contemplated working through, the computer science textbook SICP ("sick-pea"). While fans and detractors will argue passionately over whether it is a great or terrible computer science text book it undoubtedly does a good job of teaching Scheme (a LISP dialect). Unfortunately, other than allowing you to work through SICP, knowing Scheme has few practical uses. Or so I thought...
Since the researchers were using GIMP anyway, it seemed promising to write the scale-down and scale-up tools in GIMP's "batch mode", which enables you to do image processing from the command line. It turns out that batch mode scripts are written in "Script-Fu", which uses TinyScheme.
There is also, supposedly, a Python-Fu for GIMP scripting with Python. However,
in my GIMP install, there doesn't seem to be any Python console and GIMP's own docs are
very quiet on the issue. Trying to run this simple print() statement from
the command line produces an error and there nothing to say which interpreter
types are supported.
$ gimp -idf --batch-interpreter python-fu-eval -b "print('hello world')"
GIMP-Warning: The batch interpreter 'python-fu-eval' is not available. Batch mode disabled.
So, in my first ever real-world use of Scheme, I wrote scripts to scale down a directory of images and to scale up a small composite image. Some tips if you ever try scripting in GIMP:
- Use the
--stack-trace-mode=alwaysoption - Use the
--console-messagesoption - More or less all built-in procedures return a list, even if they
only really return one thing, so you will be doing a lot of
(car (gimp-new-image 100 100 0)) - Make incremental changes because there isn't any debugging to speak of and error messages are too terse to be useful
- Combining the
--console-messagesoption with the(gimp-message)function works better for printing than(display), which only printed to the console if an exception was thrown - You can tell GIMP to look for scripts in any directory with the Preferences -> Folders -> Scripts option, which is much better than having to make links in your ~/.config/GIMP/scripts directory
I put the scripts to work on some unrealistically ideal images, scaling them
down to make small_ copies
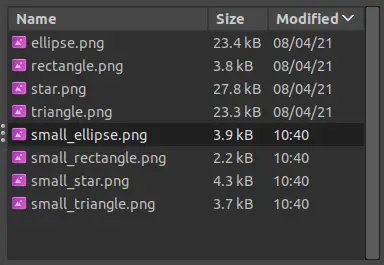 Figure 6: Our directory after running the scale-down script
then making a small composite by hand and scaling it up to full resolution
 Figure 7: The small composite image
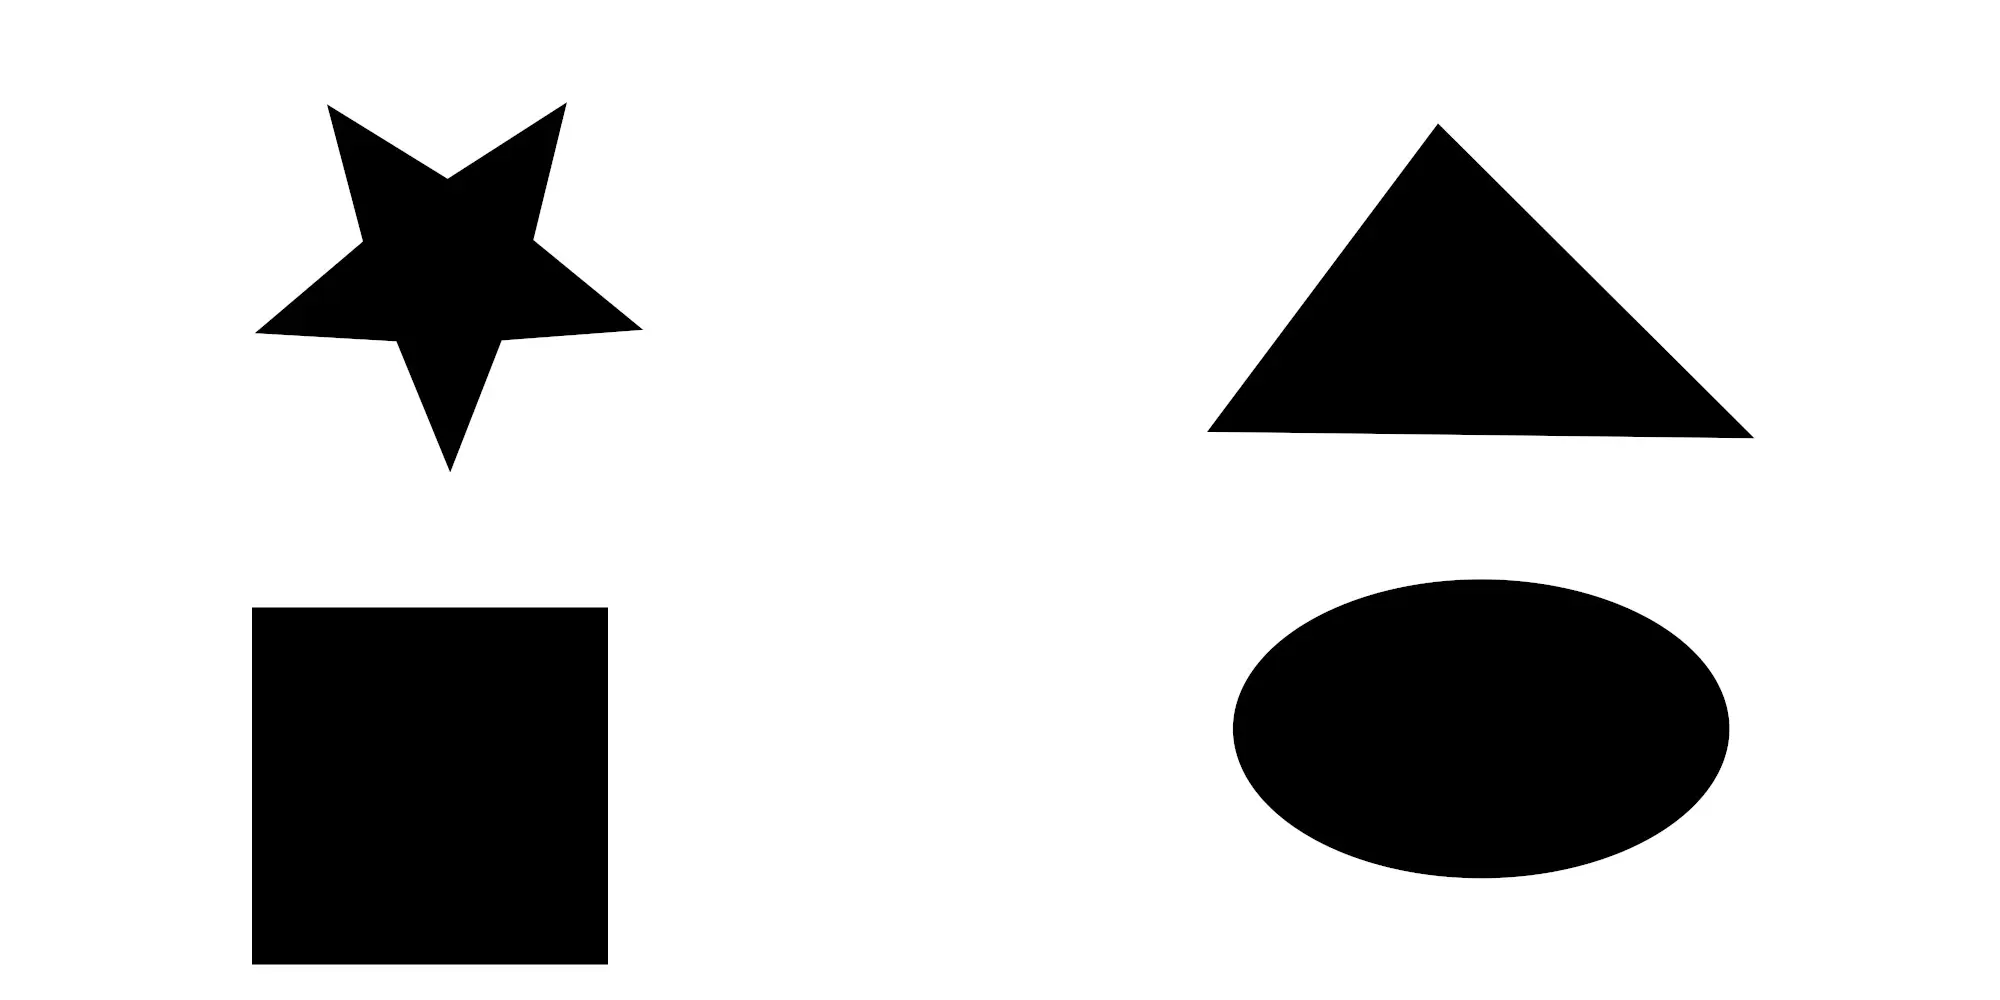 Figure 8: The scaled-up composite image
Yes, after a frustrating development experience, without an IDE, debugger or thorough documentation, my first real-world purely functional program worked. However, we want to support rotation as well as translation and GIMP doesn't have a way to find out a layer's rotation. In fact, it doesn't have any idea of a rotated layer. When you rotate an image, GIMP does the rotation and immediately resizes the image to keep it rectangular and square to the main canvas.
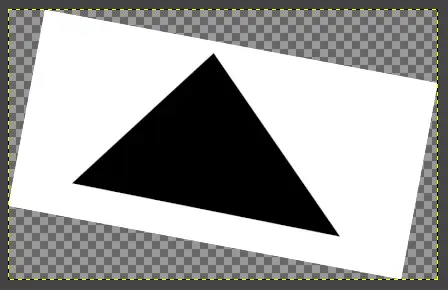 Figure 9: The image expands as you rotate it, as shown by the yellow border
The idea of trying to calculate rotation in Scheme with only
(gimp-message "some error happened") statements for debugging didn't seem
appealing so, as you'll see below, I changed tack.
Scaling with Python
The script to scale down the images worked fine in
Script-Fu but I re-wrote it in Python so that we could remove the GIMP
dependency entirely (for the script that is, the editing still needs to be done
in GIMP and saved as an .xcf file). This was easily done with the Pillow
library. The scaling-up, whilst handling rotation, is where it gets more
interesting. For the sake of testing (and to avoid any potential copyright
issues) I made some extremely simple shapes. Below, you can see that each
small_ image in our composite has been imported in its own layer, moved
around (translated) and rotated.
 Figure 10: Making a small composite with both translated and rotated components
By opening the composite with the
gimpformats
Python library, we can iterate through each of the layers. The layer info
will give us the location (x and y offset from the top left-hand corner of the
canvas) and dimensions (width and height). By comparing the layer dimensions
with the corresponding small_ image file dimensions, we can work out whether
the image has been rotated after import: if the image file is not exactly
the same size as its layer in the composite image, it must have been rotated.
To figure out the angle, we take two steps:
- If we assume that the rotation is less than 45 degrees in either direction, we can use trigonometry to work out the rotation from the sizes. This only gives us the size of the angle but not the direction.
- To work out the direction of rotation, we take our
small_image file, rotate it in one direction and do a mean squared error comparison with the composite image layer. We do the same in the other direction, again noting the mean squared error. The direction with the least error is the right one.
This method is quite direct and only requires two rotations and two error calculations.
With our translation and rotation calculations in hand, we can create a new huge canvas with Python's Pillow imaging library 10x wider and 10x higher than the small composite image. For each layer in the small composite, we open the high-res version, rotate it and put it on the Pillow canvas at 10x the small image X-offset and 10x the small image Y-offset.
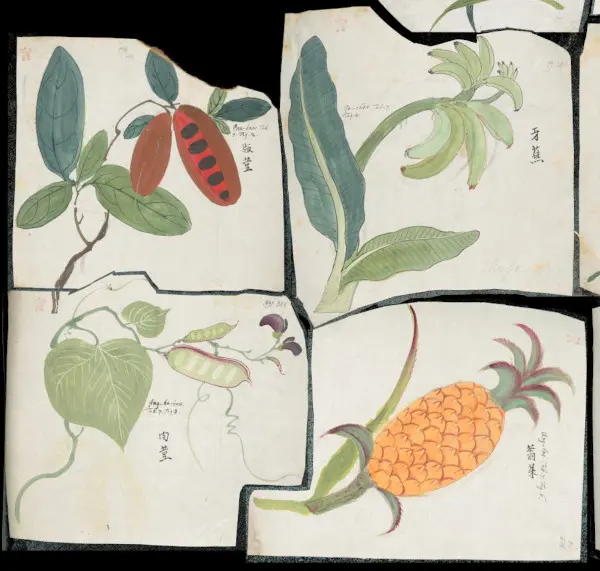 Figure 11: Part of a reconstructed table
The image above shows the intended end result of the research project. This particular example may not have used all the tools we have discussed. For more on the history of these paintings, please see this blog post by Will Burgess.
Final thoughts
This botanical jigsaw project has had a number of challenges that were very different from computational work where almost everything is a command line script that requires no human interaction once it starts.
The end result is a collection of GUI and command line tools that complement GIMP and the existing workflow. Along the way I got to dust off my Scheme and learn about OpenCV (for which, I highly recommend the free tutorials at pyimagesearch.com) and I'm hopeful that we can collaborate with the School of English and Drama again soon.
All images from Add MS 5292 are by permission of the British Library.

